
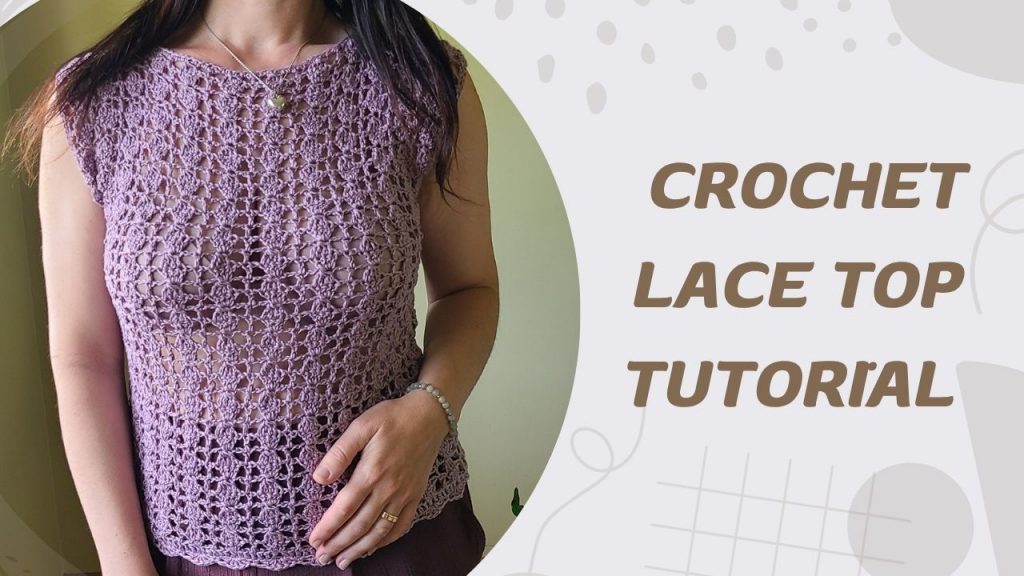
The Inessa crochet lace top is a beautiful and lightweight crochet lace top pattern perfect for warm weather. This easy crochet lace top combines delicate stitches with a modern fit, making it ideal for both beginners and experienced crocheters.
The Inessa crochet lace top is worked in two simple panels (front and back) and then joined together. The delicate lace stitch creates a breathable, elegant fabric that’s perfect for warm weather.
Inessa Crochet Lace Top: Notes
– This pattern is written in US terms.
– Take measurements of your body so you can chain accurate amount of stitches.
– All measurements are for the blocked final garment, not actual body size.
– This pattern made as Sizes XS (S, M, L, XL, XXL and 3XL ).
– Multiple of 6 + 3 – see chart for size adjustments
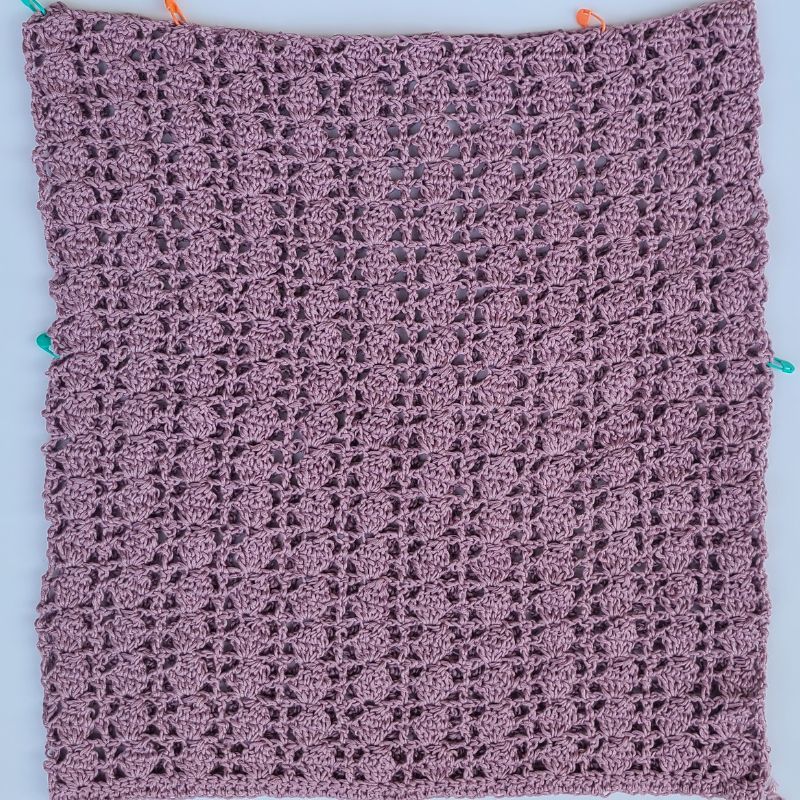
– In this picture I have demonstrated with size Medium.
– This top is worked flat in two separate pieces from the bottom up and then sewn together.
– Video tutorial is available on my Youtube channel Yelena Style Crochet.
Materials Needed for The Inessa Crochet Lace Top
– Yarn: Silky Soft Yarn by Loops & Threads, Color – Purple, Rayon from bamboo, Yarn Weight: Light (3)
you will need approximately 200 (220, 245, 280, 330, 360, 390) g of yarn for sizes XS (S, M, L, XL, XXL, 3XL).
Note: I used bamboo yarn for this project because it gives the Inessa Crochet Lace Top a beautiful drape and soft, breathable feel. For the best results, I recommend choosing a yarn that contains bamboo or a bamboo blend, as it helps the top fall more naturally and enhances the light, airy look of the lace pattern.
– 4 mm hook
– Scissors
– Tapestry needle
– Optional: stitch marker
Inessa Crochet Lace Top: Abbreviations
US terms used
**: Repeat instructions between asterisks as described
Ard: Around
Ch: Chain
Dc: Double crochet
Sc: Single crochet
Rep: Repeat
Sk: Skip
Sl st: Slip stitch
St: Stitch(es)
4dctog: 4 double crochets together
How to Crochet 4 dc tog Across 4 Stitches
The 4 dc tog stitch creates a cluster by combining four double crochets from four consecutive stitches into one stitch at the top.
Step-by-Step Instructions
– Yarn over (YO) and insert your hook into the first stitch.
– YO and pull through, leaving 3 loops on the hook.
– YO and pull through 2 loops, leaving 2 loops on the hook. (first dc started)
– Repeat steps 1–3 in the next three stitches — after the fourth stitch, you should have 5 loops on your hook.
– YO and pull through all 5 loops — this completes the 4 dc tog cluster.
Tips for Beginners
– Always leave the last loop of each dc on the hook until you finish the cluster.
– The top of the cluster will count as one stitch, so adjust your stitch count accordingly.
– “4dctog, ch 1 to close the cluster. This ch-1 counts as a stitch.”
Gauge
Gauge is important for achieving the correct fit.
Make a small swatch using the lace stitch pattern and adjust your hook size if needed.
4 inch x 4 inch = 16 sts x 8 rows
Inessa Crochet Lace Top: Measurements
| Size Chest (in) | Length (in) | Width (in) |
| XS (28–30) | 18 | 14 |
| S (32–34) | 19 | 15.5 |
| M (36–38) | 20 | 17 |
| L (40–42) | 21 | 18.5 |
| XL (44–46) | 21 | 20 |
| XXL (48-50) | 22 | 21.5 |
| 3XL (52–54) | 22 | 23 |
Watch the step-by-step video tutorial for the Inessa Crochet Lace Top and follow along as each section is demonstrated clearly. Perfect for learning how to create this light, airy summer piece at your own pace.
Inessa Crochet Lace Top Pattern Instructions
For Size Medium, follow the instructions below. For other sizes, refer to the size chart and foundation chain counts provided.
Back and Front Panel (Lace Stitch Pattern)
Foundation Chain:
Ch 63 (XS), 69 (S), 75 (M), 81 (L), 87 (XL), 93 (XXL), 99 (3XL) a (multiple of 6 + 3)
Row 1
Dc in the 4th ch from hook and in each ch across. Turn.
Row 2
Ch 4 (counts as dc + ch 1), turn. *Sk 2, (4 dc, ch 1) in next st, ch 1, sk 2, dc in next st; repeat from * to * across. At the end, sk 2, dc in the 3rd ch of the turning ch from the previous row.
Row 3
Ch 5 (counts as dc + ch 2), turn. Sk 1, work 4 dc together (dc4tog) over the next 4 sts, ch 1 to close cluster (ch-1 counts as a st), ch 1, sk 1, dc in next st. *Ch 2, sk 1, dc4tog over next 4 sts, ch 1 to close cluster, ch 1, sk 1, dc in next st; repeat from * to * across. At the end, ch 1, sk 1, dc in the 3rd ch of the turning ch from the previous row.
Pattern Repeat
– Row 4: Repeat Row 2
– Row 5: Repeat Row 3
Continue repeating this 2-row pattern (Rows 2–3) as follows:
– Rows 6, 8, 10, 12, 14, 16, 18, 20, 22, 24, 26, 28, 30, 32, 34, 36: Repeat Row 2
– Rows 7, 9, 11, 13, 15, 17, 19, 21, 23, 25, 27, 29, 31, 33, 35, 37: Repeat Row 3
Length Guide by Size
– XS : Work until you have 33 rows total
– S: Work until you have 35 rows total
– M: Work until you have 37 rows total
– L / XL: Work until you have 39 rows total
– 2XL / 3XL: Work until you have 41 rows total
Notes
- Both the front and back panels are worked identically.
- You can easily adjust the length by adding or reducing rows while maintaining the stitch pattern.
- For best results, check your fit as you work and block your panel lightly to open up the lace design.
Inessa Crochet Lace Top: Joining the Panels
- Shoulder Seams
Place the front and back panels together, right sides facing inward.
Join each shoulder using slip stitch or single crochet.
Fasten off. - Side Seams
Align the sides of the panels.
Join from the bottom hem upward using slip stitch or single crochet, leaving openings for armholes (about 7–9 inches / 18–23 cm, or as desired). - Turn Right Side Out
Once seams are complete, turn your top right side out.
Edging and Finishing Touches
- Neckline Edging
Attach yarn at the neckline.
Work a round of single crochet evenly around. - Armhole Edging
Work single crochet evenly around each armhole to create a neat finish. - Add additional row of slip stitch for extra detail.
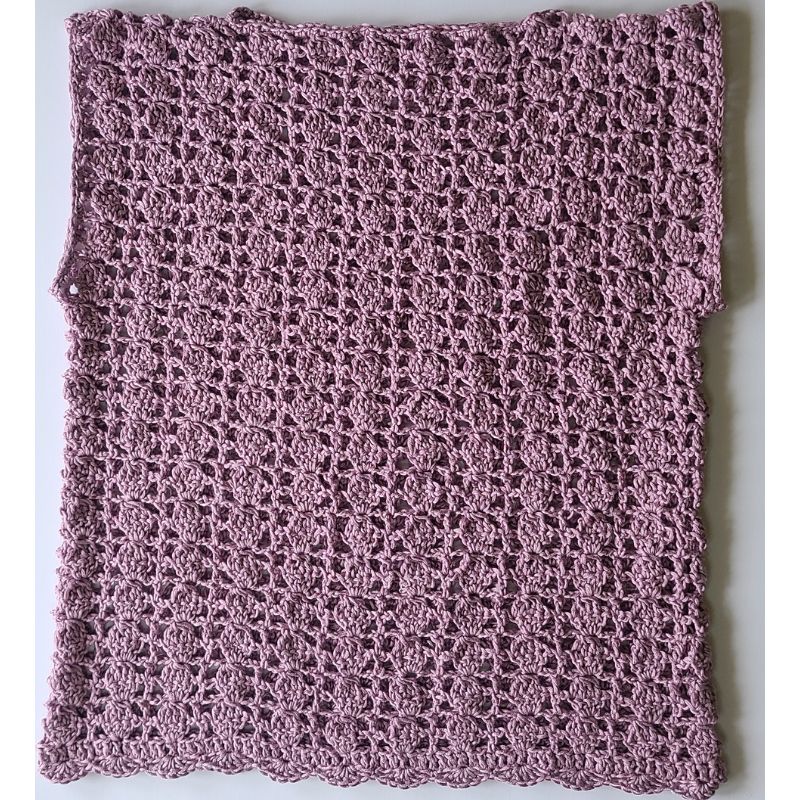
- Bottom Edge (Optional)
Attach yarn in the side corner, sc in the same st, *sk 2 sts, 5dcs in the next st, sk 2 sts, sc in the next st; rep from * to * ard. - Blocking
Gently block your crochet lace top to open up the lace stitches and enhance drape.
Final Tip
Try on your crochet lace top before finishing edging to ensure the neckline depth and armholes are comfortable—you can easily adjust at this stage for the perfect fit.
You may also love this summer crochet top pattern for its light, breathable design that’s perfect for warm weather styling. If you’re looking for more inspiration, check out my other crochet lace patterns to explore delicate textures, airy stitches, and seasonal favorites that pair beautifully with summer outfits.